
Introduction
In all actuality, website speed is not only a technical consideration but an important factor on which online success depends. Load time matters in how an individual blog, an e-commerce store, or a corporate site delivers user experience, search engine rankings, and revenue. Users expect that any page opens in less than three seconds, and any delay becomes all the more irksome and an opportunity missed. Frustration breeds fast departures for a slow-loading site, which also tells search engines that the site is undesirable, deflating visibility and organic traffic.
Improving the load time of your website will require a strategy and a step-by-step implementation plan. It’s not just about compressing images or using caching plugins-it’s about understanding how every element on your site contributes or detracts from performance. From server response optimizations to minimizing third-party scripts, pursuing a global approach will guarantee speed as well as functionality. This guide takes you through the 10-point checklist to amplify your site’s speed, user experience, and better results on all devices. Each checklist point presents an actionable item for beginners and intermediates alike so that you can maximize your efforts into optimizing web performance.
1. Optimize Image Sizes Without Sacrificing Quality
Use Proper File Formats
Usually, images are the largest elements on a webpage and will therefore contribute mostly to loading time. By choosing an appropriate format, file size can drastically be reduced. JPEG images are great for photographs, while PNGs are better for images that need transparency. With being slightly newer, the WebP format is another strong alternative, offering the same quality with smaller file sizes. The balancing act is on preserving high fidelity versus small sizes. Lossy compression reduces size but might slightly diminish quality; lossless compression preserves everything but may size files larger. A nice web tool like TinyPNG or Squoosh can come in handy for the purpose.
Another effective practice will be to define image dimensions according to your display needs-there’s simply no point in uploading a 3000×2000 image if it is only displayed at 800×600 on your site. You should also consider serving responsive images through srcset attributes so that smaller devices can load appropriately-scaled images. Not over-delivering large assets to users who do not require them favors performance for mobile and tablet users, especially.
Implement Lazy Loading for Below-the-Fold Content
Lazy loading defers the loading of images that are not visible to the user until the user scrolls down into view. This can dramatically decrease the load time of a website that is otherwise heavy on images. Rather than simply loading everything, lazy loading is aimed at material residing within the user viewport. Implementation is very simple for WordPress users via plugins such as a3 Lazy Load or through the native support of the browser with the loading=”lazy” attribute. Images are lazy-loaded for better load time and for saving users’ bandwidth, which is good for mobile users in data-limited plans.
2. Use a Content Delivery Network (CDN)
Distribute Your Content Globally
Storing copies of your website files in data centers around the world, a content delivery network (CDN) delivers content from the server closest to the user when they visit. Latency is cut down in a huge way so that loading times are higher, irrespective of the user location. CDNs such as Cloudflare, StackPath, and Amazon CloudFront help deliver static assets—files like JavaScript, CSS, and image files—much faster than singular origin servers ever could. This means that both domestic and international users receive site assets much faster, improving accessibility and performance.
CDNs reduce packet travel time and avoid network traffic congestion by keeping the distance between the server and the end user to a minimum. Thus, a CDN would enhance your browsing experience, whereby you experience the website faster and in a more reliable manner. Also, the distribution of traffic during peak usage provides extra protection, preventing crashes during downtimes and keeping your site highly available during sudden traffic spikes for viral content.
Improve Security and Reliability
Not just speed, but CDNs also add security to websites. Most come packed with built-in DDoS protection, firewalls, and secure TLS/SSL encryption requiring little-to-no configuration to engage. That means it delivers content and protects it from being attacked. Some CDN providers offer additional functionality, including automatic caching rules and performance analytics, to let you see how fast your site is serving content globally. This adds weight to CDN in your web performance checklist not only on speed counts, but also resilience and security.
3. Minify CSS, JavaScript, and HTML
Reduce File Size for Faster Parsing
Minification is basically code optimization accomplished by omitting any unnecessary characters from the CSS, JavaScript, or HTML files such as white spaces, line breaks, comments, or block delimiters, which do not affect rendering by browsers. Although this might not seem that important, they accumulate, particularly with large files or multiple files. Lesser the size of a file means less data that the browser has to download and parse, resulting in fast rendering and lesser loading times. UglifyJS, CSSNano, or HTMLMinifier are some tools to automate the minification process, which avoids breaking any of your actual code but highly optimizes it.
Minification ought to be part of your build process or performed automatically by your CMS plugins or modern deployment platforms. Webpack, Gulp, and other task runners make it so easy to integrate minification into your development pipeline. If you are on WordPress, just download a plugin like Autoptimize or WP Rocket, and you should be set in just a couple of clicks.
Combine Files Where Appropriate
In fact, combining files on top of minifying them will improve performance further. Too many small files mean too many HTTP requests, each one with overhead added. Bundling a few CSS and JavaScript files reduces the number of requests made, which goes a long way for mobile users on slow networks. There is a balance to maintain here; putting all JavaScript into one file means that if one script takes time to load or gives an error, your entire page is delayed. This calls for a selective combination of assets and thorough testing to keep performance up and stability down.
4. Enable Browser Caching
Store Static Files Locally on the User’s Browser
When a visitor first visits a website, browser caching saves its resources to the local device. The next time the user visits, the browser can load files – like logos, images, and CSS stylesheets – from the cache, rather than downloading them again. This dramatically reduces page load time the next time it is visited. You can set caching rules through your .htaccess file, server headers, or plugins, depending on your setup. For successful caching, the date of expiration should be set as required to avoid multiple downloads for static assets.
Caching reduces the requests for the same files, and hence it reduces the load on the servers as well. This is very critical for sites which have a lot of frequency in returning visitors, and in times of marketing campaigns which draw repeated loads to the site. Availability of cache also helps in SEO optimization, for page speed is considered an important ranking factor by Google.
Use Versioning to Manage Asset Updates
Versioning is a technique that appends some unique identifier such as a version number or some hash in the filenames of static assets like CSS, JavaScript, and image files. This is done to ensure that the newly changed versions load into browsers. Different such static files may then get inadvertently loaded from the browser cache. Old files can cause display problems and stop new features from working. Whenever there’s an update for an asset, the path to the file is changed on the line style.css?v=2.1. This prompts the browser to fetch the new file instead of using the cached one. It thus gives the advantage of very long cache expiration periods while controlling how and when updates are delivered to users-in effect balancing performance against reliability in content delivery.
5. Choose a Fast and Reliable Web Host
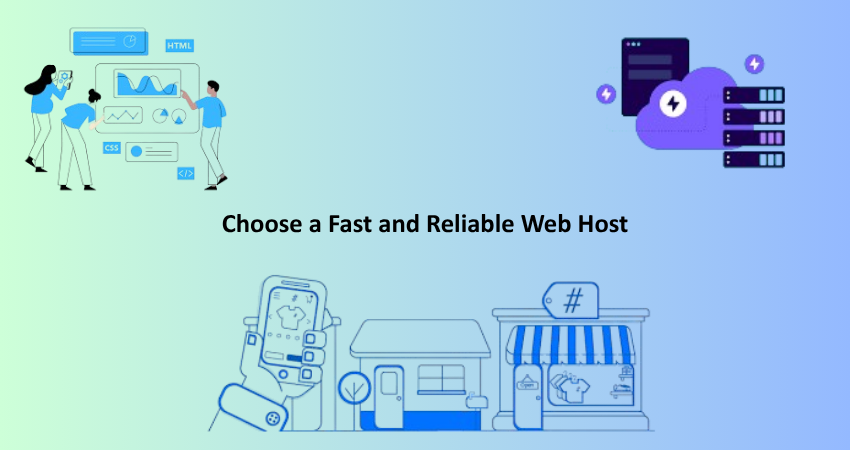
Shared Hosting vs. Dedicated or Cloud Hosting
Your hosting provider affects the speed of your site. Shared hosting may be cheap, but it also comes with bad performance because of limited resources, with many other sites on the same server affecting your site. Choosing VPS (Virtual Private Server) .dedicated, or cloud hosting would allow for more memory, bandwidth, and processing power as per your website. Hosting providers such as SiteGround, Kinsta, and DigitalOcean provide hosting solutions keeping speed and uptime in mind.
Fast servers not only speed up load time but also enhance uptime and keep bounce rates low. Slow server response times will deter even the most technically optimized web pages. Investing in better hosting is akin to starting your house construction on solid ground: it ensures that all your other efforts in performance optimization do not sink due to poor infrastructure.
Data Center Location and Server Technology
Besides having a speed factor, the location of the data center is also an important consideration. A web host with servers located near their audience will always be beneficial when it comes to response time. In addition to that, today’s best hosting servers should run LiteSpeed servers, NGINX, and HTTP/3 to maximize concurrency while minimizing latency, thereby ensuring extremely fast performance. Be ready to switch your hosting provider should the server stack performance measurements prove to be less than satisfactory.
6. Implement GZIP Compression
Reduce the Size of Transferred Data
Before the actual transfer for the user’s browswer for viewing, GZIP compression is utilized to create smaller sizes of the website files traversing over the network. This drastically adjudges its price towards loading its resources like HTML, CSS, and JavaScript. It is reported that when GZIP is on, the file will be compressed to an extent of 70%. This means that file size will be drastically reduced for faster transfer and quicker page display. Great benefit for slow connection or mobile network users!
GZIP can often be found enabled by default with most of the popular Web servers like Apache and NGINX, or it has easy configuration available through either .htaccess or server settings. Tools available online, like GTmetrix and Pingdom, can help you determine whether or not GZIP is working on your site. The initial setup requires some configuration; however, it greatly contributes to speed enhancement over time.
Use Brotli for Even Better Compression
We know GZIP is an esteemed kind of compression, whereas the Brotli compression algorithm made by Google is fairly recent and well-known to have better compression ratios than GZIP. This algorithm performs well with text-based files and is supported by popular web browsers: Google Chrome and Firefox. If your server allows it, pedigree traffic is sufficient enough to warrant a switch to Brotli for another speed optimization layer, especially for first-timer users downloading resources for the very first time from the network.
7. Reduce HTTP Requests
Streamline Your Web Page Design
Adding more requests will increase load time. So, if you can avoid graphical elements and can really do without them, just get rid of them; simplifying the visual design goes a long way toward speeding up your site. Use CSS instead of images for any simple effects; consider combining any images into CSS sprites; remove any scripts and fonts that have negligible contribution to the user experience.
This approach would not only serve to speed things up but would also go with modern UI/UX philosophies and would make your site look more elegant and less crowded. Therefore, do get rid of buttons, widgets, and decorations that do not serve any real functional purpose, as it will highly enhance your performance.
Preload Critical Assets
Another method is preloading essential resources such as fonts, hero images, and scripts that are required immediately on page load. This can let the browser know that these resources need to be fetched earlier, thus reducing render-blocking delays. Using the <link rel=”preload”> tag in your HTML header can save you precious seconds from your perceived load time for the key assets. But, be strategic-preloading too many resources defeats the purpose, and so preloading is for only the most vital assets.
8. Defer or Async JavaScript Loading
Avoid Render-Blocking JavaScript
A page-load setting, as far as the JavaScript files are still though in the loading phase, must hang for some time. It will then see commands and perform actions. This modification practically renders a web site useless. The defer will load after parsing the HTML, whereas the async will load the script together with other resources but only execute it after the download has been completed; it seems that these attributes make the script tag non-blocking in scope on parsing the HTML.
This simple adjustment is especially important for third-party scripts, which, among which, analytics or ad trackers are famous for drastically ruining the speed of your site. Having those scripts towards the end of your HTML and deferring their execution enables the site to load visibly and functionally before the scripts do the actual job.
Split JavaScript Files Based on Function
JavaScript files should be maintained at a more functional level in order to maximize control. Load only what is necessary for the currently-visited page. For example, the script necessary for the operations of a photo gallery on the homepage must not be loaded for the nodes of blog posts. This way, iframe overhead is reduced, which is in line with the web development motto “less is more”. This specific function is fulfilled well by tools such as Webpack and Rollup, which enable you to create intelligent bundles.
9. Clean and Optimize Your Database
Remove Unnecessary Data and Revisions
Your database can gradually fill with junk like old post revisions, spam comments, trashed items, etc. This unwanted weight slows down data retrieval and adds to the overall degradation in the performance of your site. A little cleaning here and there is necessary: either via tools such as WP-Optimize or simply using phpMyAdmin from time to time. You know, if you do some regular cleaning, then your database will remain nice and tidy for fast performance.
A well-optimized database ensures quicker query responses which are essential for dynamic sites like WordPress. With defragmented tables and updated indexes, your server is in a position to deliver content fast-an essential for e-commerce stores and membership sites that perform various real-time operations.
Schedule Regular Database Maintenance
Optimization should therefore not be a one-off event but needs to be made a part of the schedule weekly or monthly, as the desired performance would otherwise not be obtained. Apart from that, clean-up can also be automated using cron or plugins that allow you to schedule cleanups. An entirely clean database is one of the most efficient ways to make the server fast and the pages responsive. Thus, it becomes one of the most crucial points in a checklist for web speed optimization.
10. Monitor Speed with Performance Tools
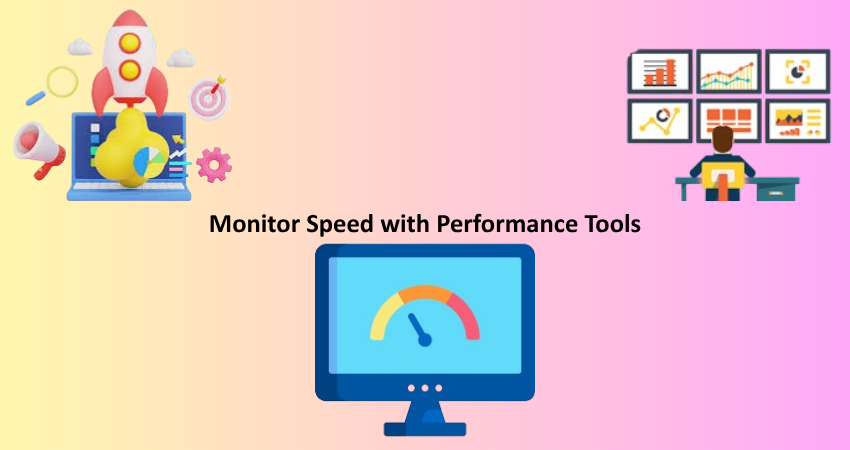
Use Tools to Identify Bottlenecks
Without the benefit of real-time monitoring, you’re merely making a guess on what truly affects the speed of your site. Performance analysis tools, such as Google PageSpeed Insights, GTmetrix, WebPageTest, and Lighthouse, give you very detailed reports about your site’s load performance, pointing out potential bottlenecks and providing you with some actionable advice about what to do. Everything is analyzed—from time to first byte (TTFB) to largest contentful paint (LCP)—which are all so important in terms of user experience and really go to the very heart of Core Web Vitals.
By tracking performance before and after changes, you can assess and measure their effects, allowing you to effectively iterate on your changes. Most tools allow testing across multiple devices, browsers, and network speeds so that the optimization work you put in benefits all types of users.
Set Benchmarks and Goals
Benchmarking is an excellent way to keep a person on track and oriented towards achieving goals. One example is to go for a TTFB below 200 ms, a fully loaded time of fewer than 2 seconds, and 90+ scores on Lighthouse. Since the website is dynamic, the reference should be updated regularly. What is applicable today might need refining tomorrow in the event of an update, addition of features or increase in traffic. Keeping track of the performance trends helps to silver lining the run rather waiting in the flow.
Conclusion
Improving the loading speed of your website is a massive investment in the experiences of users, SEO, and business growth instead of just a pure technical improvement. Every second saved means higher conversion rates, lower bounce rates, and even more engaged visitors. Today’s digital users are expecting a speed of light. So, your website cannot afford to have slow speeds.
This 10-point checklist gives you pretty much all ways you can go about making a snappier load time. There are steps-from image optimization to deployment of CDNs, database cleaning, and even performance monitoring-that all play a critical role in speeding up one’s website. Don’t try to do everything in one go-start by collecting low-hanging fruit, measuring improvements, and iterate. By keeping up such an approach that is both concentrated and consistent, you’d eventually transform your website from being a slow, inefficient money pit into a fast, efficient, high-performing asset attractive in today’s competitive online environment.